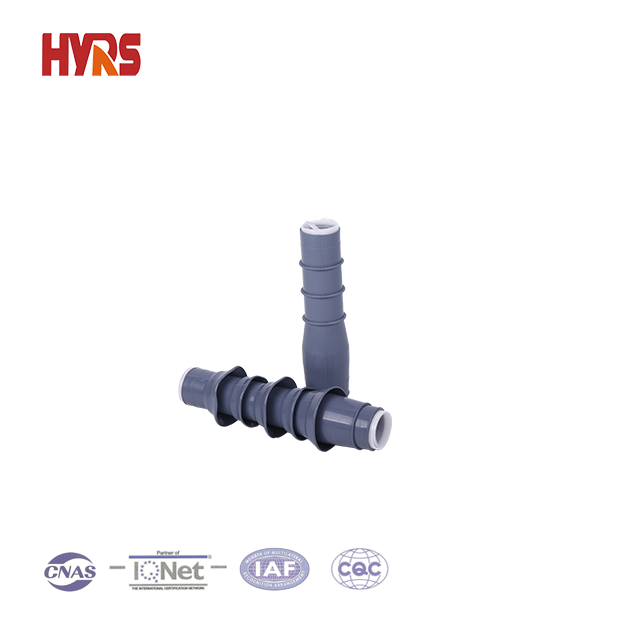
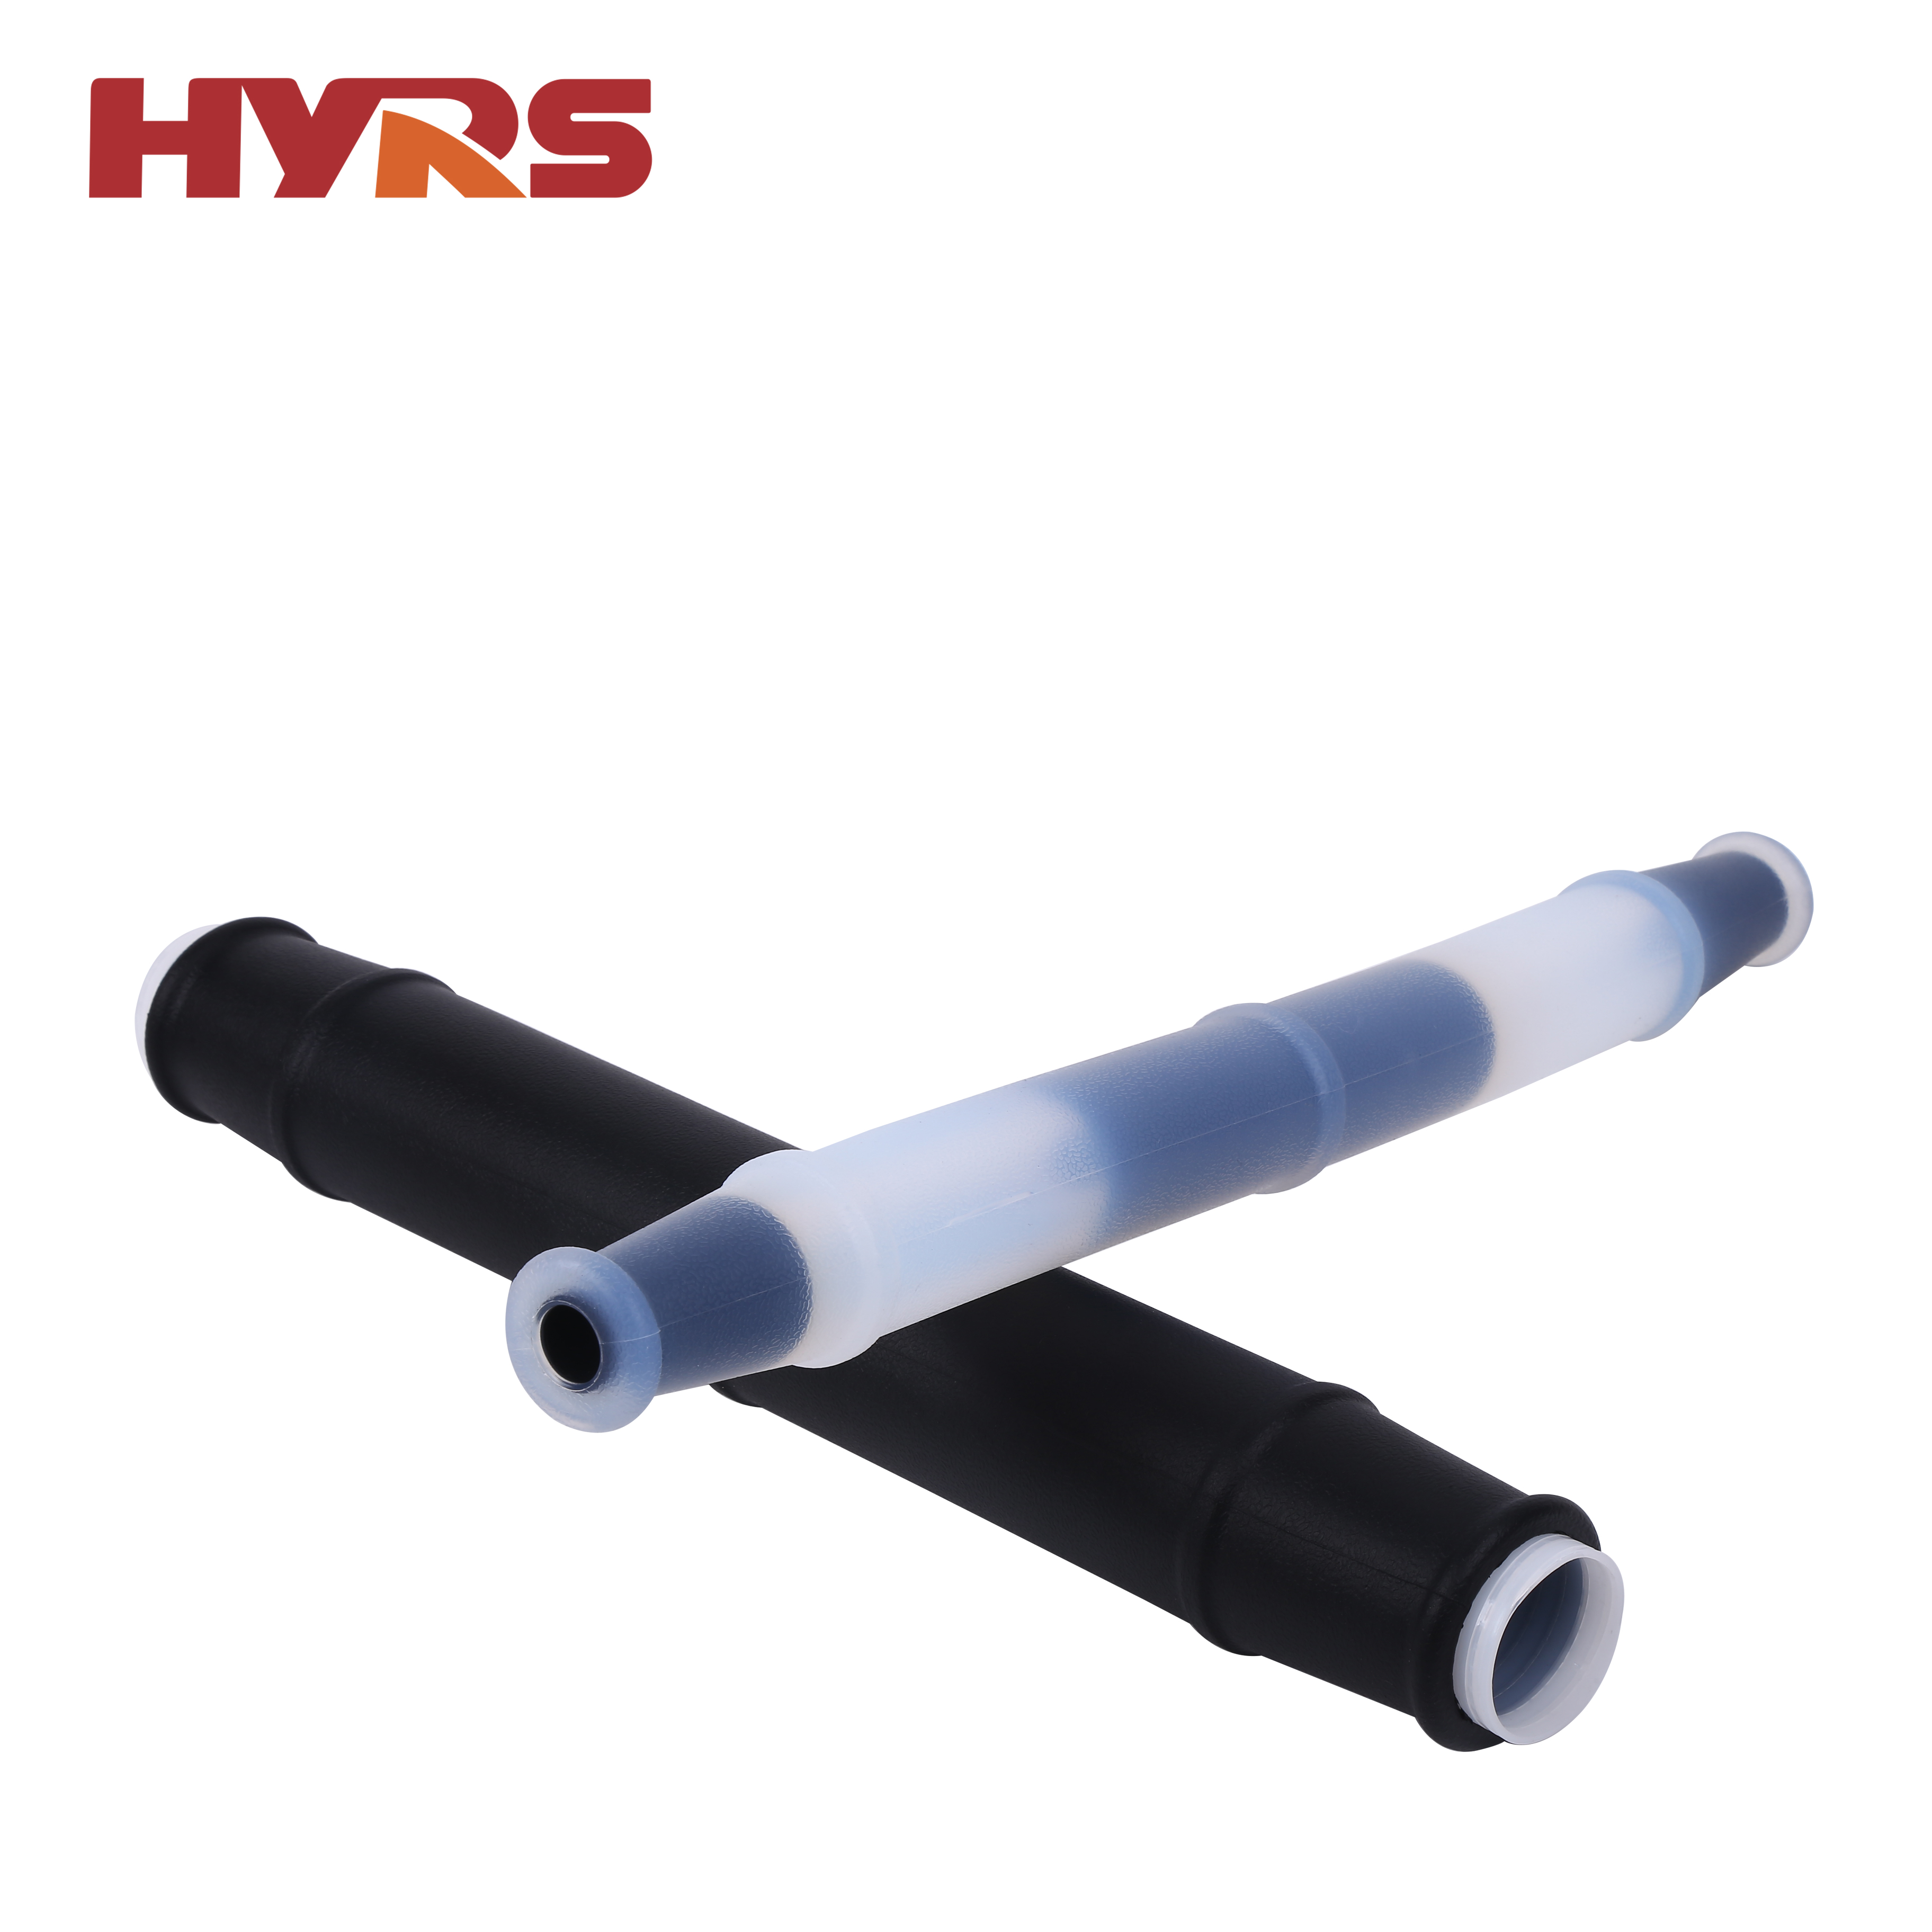
Cold shrinkable straight through joint kits are used in the electrical industry for joining or splicing two cables together. They are designed for low voltage applications, up to 1kV, and provide excellent electrical insulation, corrosion resistance and mechanical protection to the cables and joints.
Cold shrink joints are made of two parts - a silicone rubber tube and the insulating elements. The tube is designed with a pre-expanded diameter which allows it to easily slide over the cable ends. Once positioned, the insulating elements are installed to join the two cable ends, providing an airtight, watertight and durable connection.
The insulating elements used in cold shrinkable straight through joint kits are usually made of silicone rubber or EPDM rubber material and they might include:
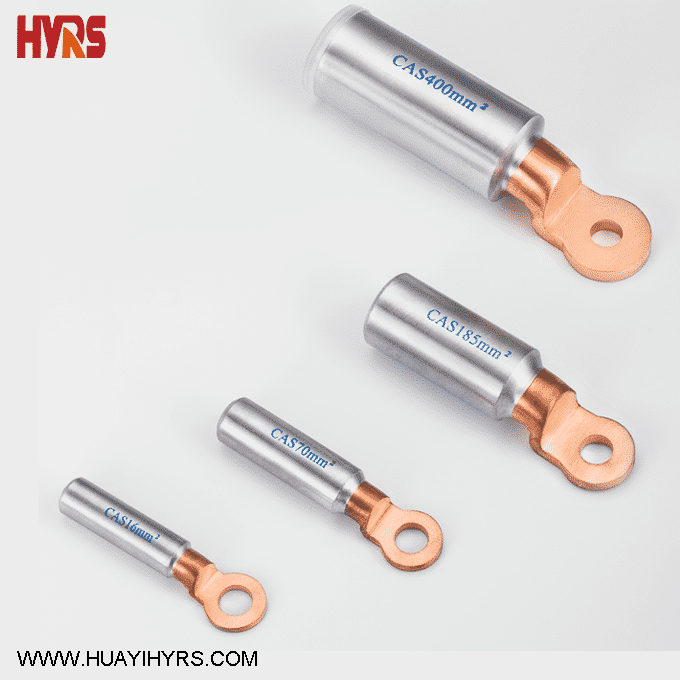
cable lugs/connectors
stress control tubes/boots
tubes for voltage distribution
tube for shielding (if required)
The main advantage of the cold shrink joint kit over other alternatives is that it doesn't require any heat source or special tool to be applied during installation, making it easy and quick to install in the field.
he installation of cold shrinkable straight through joint kits is quite easy and requires no special tools or heating devices. Here are the general steps for installing a cold shrink straight through joint kit:
Choose the right size of cold shrink tubing and insulating elements according to the cable size and design.
Clean the cable ends thoroughly to remove any dust or debris, ensuring that the cable is clean and dry.
Slide the cold shrink tubing over one of the cable ends. Normally, the tubing size should be slightly bigger than the cable size so that it can shrink onto the cable and provide a tight fit.
Slide the insulating elements over each of the cable ends, ensuring that they are positioned correctly according to the manufacturer's instructions.
Ensure that all the elements are in the correct position and then remove the inner core from the cold shrink tubing. This is accomplished by pulling the plastic tab attached to the core.
Slide the cold shrink tubing into place ensuring that any lugs or connectors are made properly.
Make sure the joint kit is properly aligned and no air bubbles are trapped.
Once the installation is complete, the cold shrink tubing shrinks and conforms to the cable and insulating elements, creating a tight seal on the cable ends. It's important to follow the manufacturer's instructions to ensure that the installation is carried out correctly, and the cable joint will perform reliably under all operating conditions.

 English
  Español
  Português
  русский
  Français
  日本語
日本語  Deutsch
  tiếng Việt
  Italiano
  Nederlands
  ภาษาไทย
  Polski
  한국어
한국어  Svenska
  magyar
  Malay
Malay  বাংলা ভাষার
  Dansk
Dansk  Suomi
Suomi  हिन्दी
  Pilipino
  Türkçe
  Gaeilge
  العربية
  Indonesia
  Norsk
Norsk  تمل
تمل  český
český  ελληνικά
  український
  Javanese
  فارسی
فارسی  தமிழ்
தமிழ்  తెలుగు
  नेपाली
  Burmese
  български
  ລາວ
ລາວ  Latine
  Қазақша
  Euskal
  Azərbaycan
  Slovenský jazyk
  Македонски
  Lietuvos
  Eesti Keel
  Română
  Slovenski
  मराठी
मराठी  Srpski језик
